Mobility Nominations
In this short user manual you learn how to work with Erasmus+ web application for Erasmus+ nominations. This manual was designed for administrators - manual for students can be found here.
You will gain access to the application via a generated e-mail which will contain a link that will log you in directly to the application. You have a general overview of the web application.
Home page
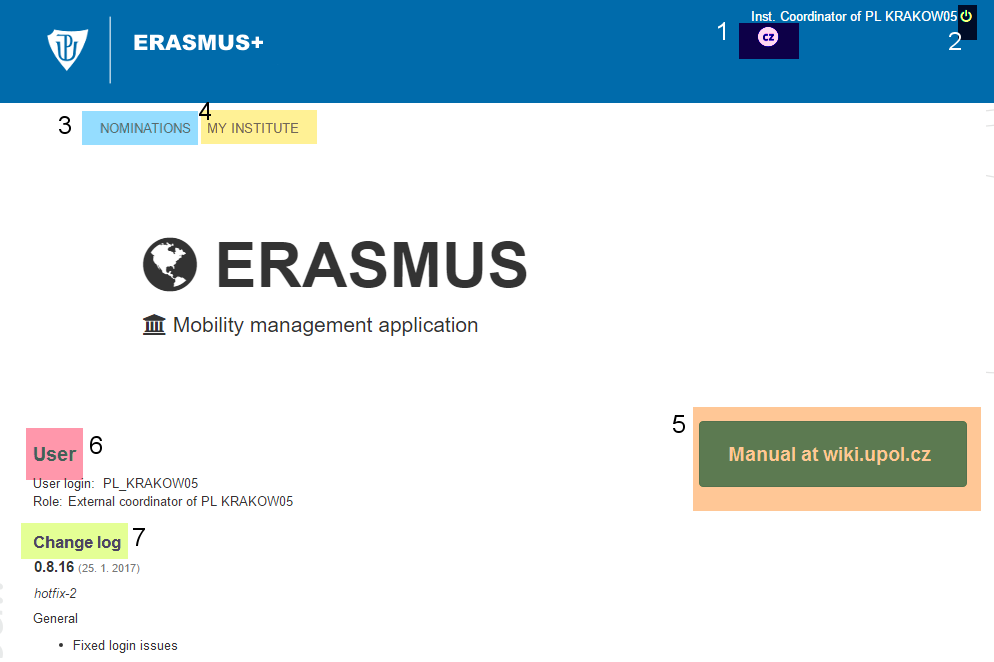
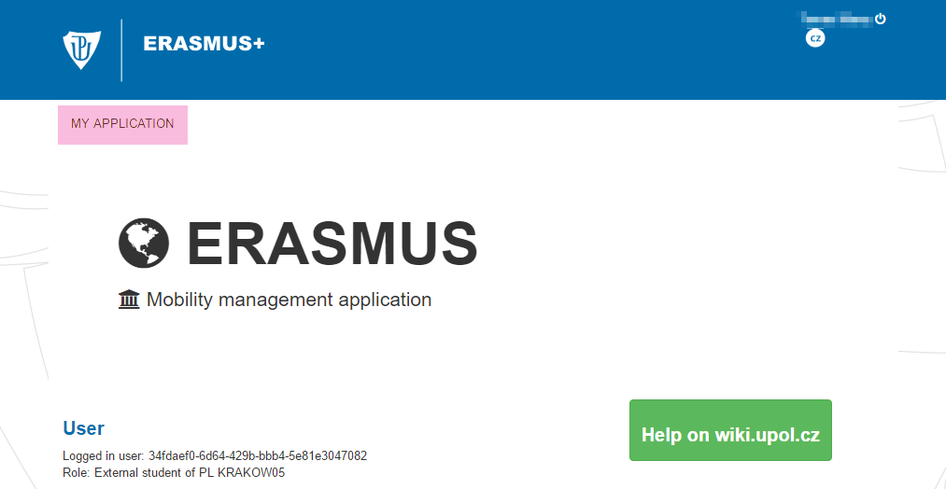
By clicking [1] you will change language of the application. By clicking [2] the switch button you will log out of the application. Click at the Nominations [3] you will be directed to Nominations page, where you will fill in basic nomination information of your students. To get to overview of partnerships of your institution, go to My institute [4]. Get to the manual by clicking the button [5]. There are your user information [6] on the main page as well as the application change log [7].
Nominations
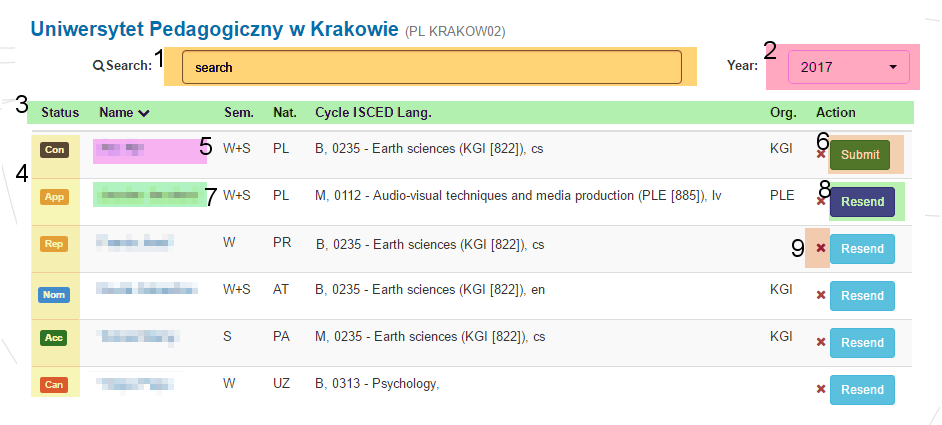
You can Search [1] among the already created nominations by typing student's name. The application will filter the list automatically. Furthermore, you can sort [2] the nominations either by state, name, semester, cycle, ISCED code or language.
There are several states [3] of the nominations:
- Created - right after adding a nomination
- Concept - after submitting an information e-mail to the student
- Need Repair - if there are information that have to be repaired
- Accepted - student is accepted to studies
- Denied - student is not accepted to studies
- To Approve - student approve all the information that are necessary for finishing the nomination - he/she must make sure that all the information are filled in properly - by clicking the To Approve button the student will send the nomination to the Palacký University
- Cancelled - after student withdraws his/hers nomination
You can click the name of the student to get detailed information of his/hers nomination. There are two types of overviews of the information at the moment - there is a shortened overview for nominations in state Created [4] and full overview for the rest of the states [6].
Furthermore, you can delete the nomination [5] and you can submit the nomination to the student. You can either send or resend the notification e-mail [7] to your student, the student will receive an email with a link to his/hers nomination with which he/she can work with later on. You can add new person to nomination under Add nomination [8].
Add nomination
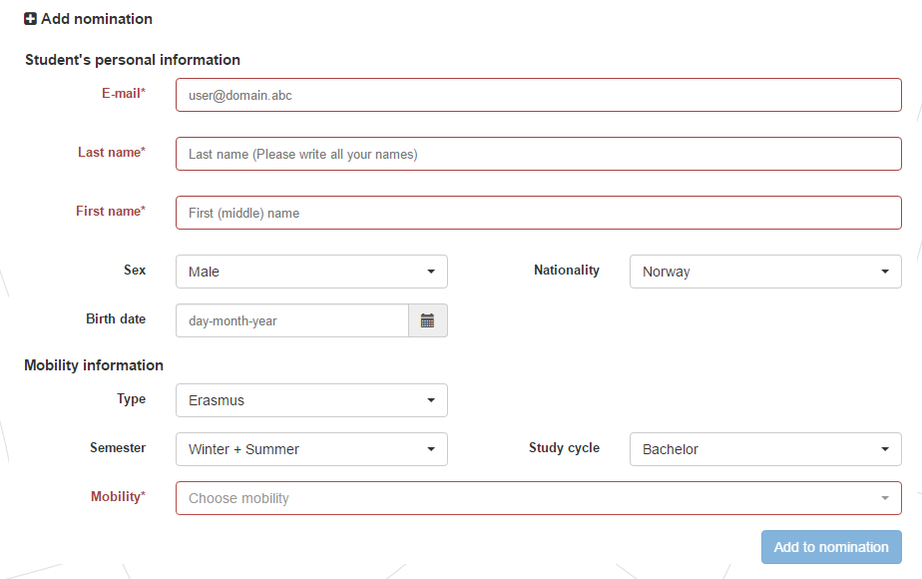
On the lower part of the Nominations page you can Add nominations or your students. Items marked by the asterisk [*] must be filled in. You will not be able to add the student to the nomination without filling in these information. Nationality [1] is selected automatically from the country of your university, you are able to change the nationality, if necessary. Then you should choose a mobility for the nominated student - you will see only the mobilities which are set for a chosen study cycle.
You can click the Add to nomination button to add the student to nomination once the form is completed.
Nomination detail - state Created
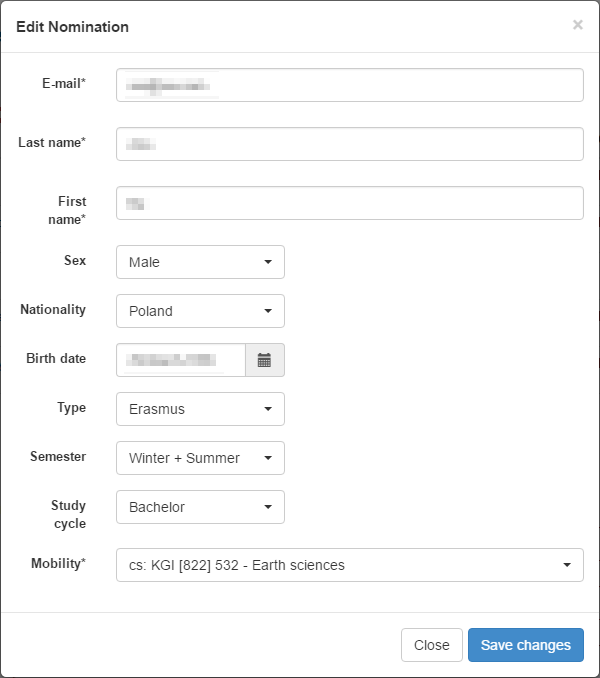
This is an overview of the detail of a nomination in the state Created. It will be opened in a new modal window after clicking at the student's name. You can edit student's information there. Click the Save button once you have finished the editing.
Nomination detail - other states
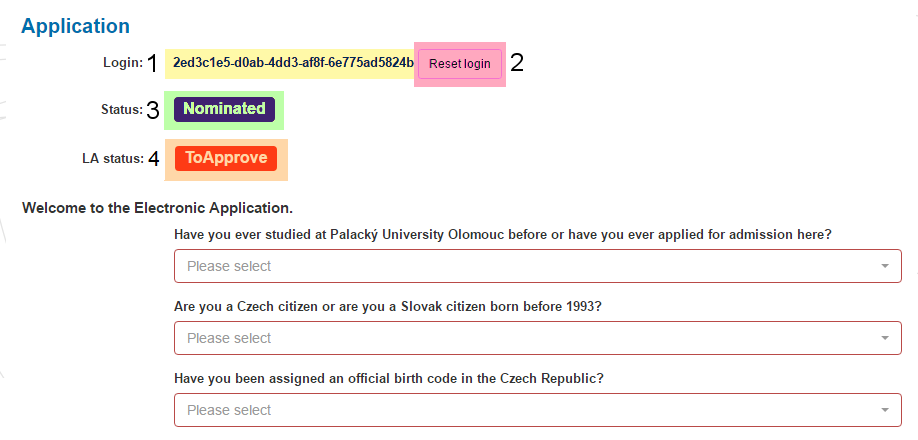
If the nomination is in the state Concept and further on, you can edit the application for the student. But the student should fill in the application by himself/herself. You do not have to interfere into this part of nominations, as you can only edit the application. Students must send the application to Palacký University by clicking at To approve button. Furthermore, student can Withdraw the application by clicking the Withdraw button. Students have these buttons in their application.
In the nomination detail you can see mobility information, basic personal information, address, state of the nomination and appendices.
In this part the student should fill in basic contact information.
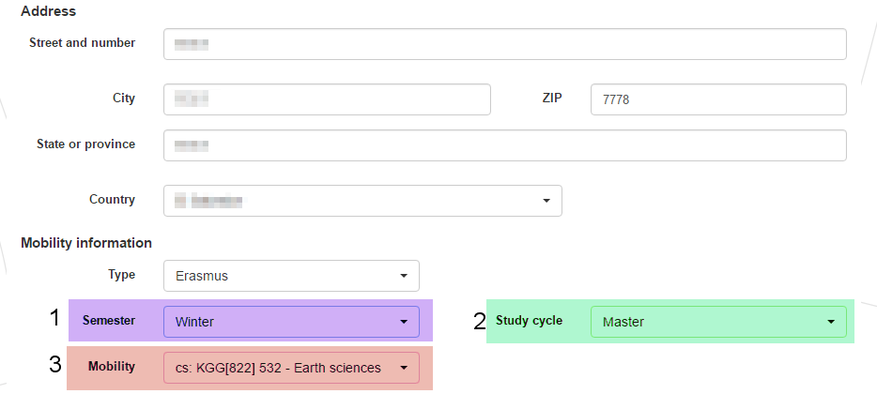
Students are required to add their address, you can add these information for the student (if there is such agreement among you). Furthermore, mobility details can be edited - type, semester, study cycle and mobility.
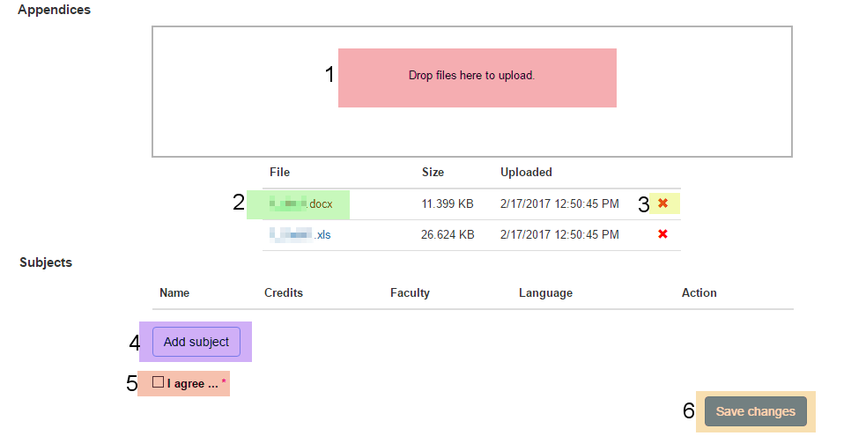
Further, you can upload documents related to the student. Students should upload these also on their own.
